Our Earth Revolves Around You.
16720 Claire Ave. Cleveland, Ohio 44111
Mon-Sat: 7:00am - 5:00pm
25 Apr 2023

Reasons to hire Premier Landscaping of Lakewood

Stone Paver Patio w/ Stone Fire Pit, New Sod, Mulch and Shrubs
Stone Paver Patio w/ Stone Fire Pit, New Sod, Mulch, and Shrubs
  • Premier has been in business for over 20 years. Since 1999 in fact.
  • Premier has the knowledge; the president of the company is a graduate of Xavier University in Landscape Management.
  • We are a local landscaper, our company is based in Lakewood, Ohio with roots in Fairview Park, Ohio, and Rocky River, Ohio.
  • The best staff; our on-site foreman & carpenter can build or create just about anything you can dream up.
  • Premier Landscaping is a four-season maintenance company featuring lawn care, mulch, clean-ups, lighting, and winter services.
14 Sep 2017

8 Tips for Christmas Lighting this Holiday Season

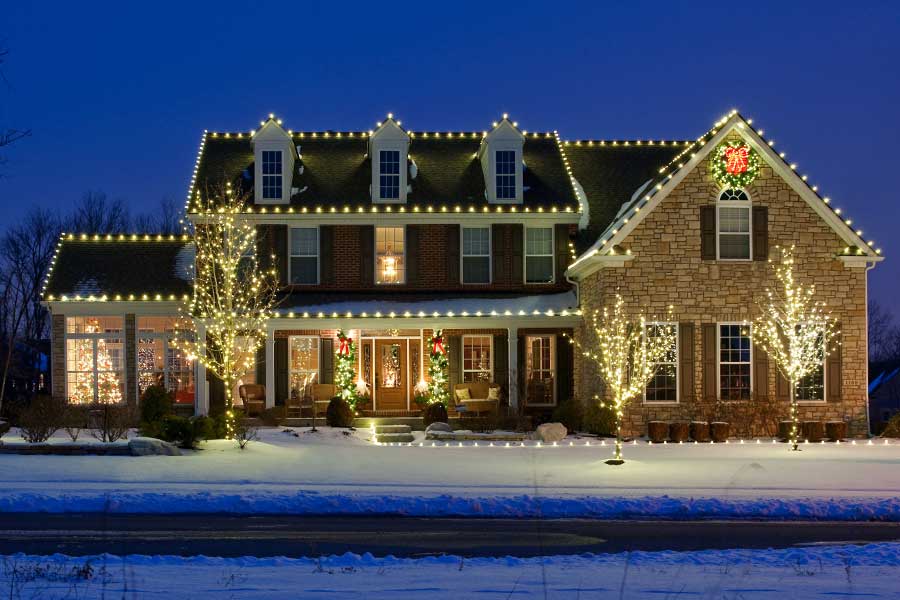
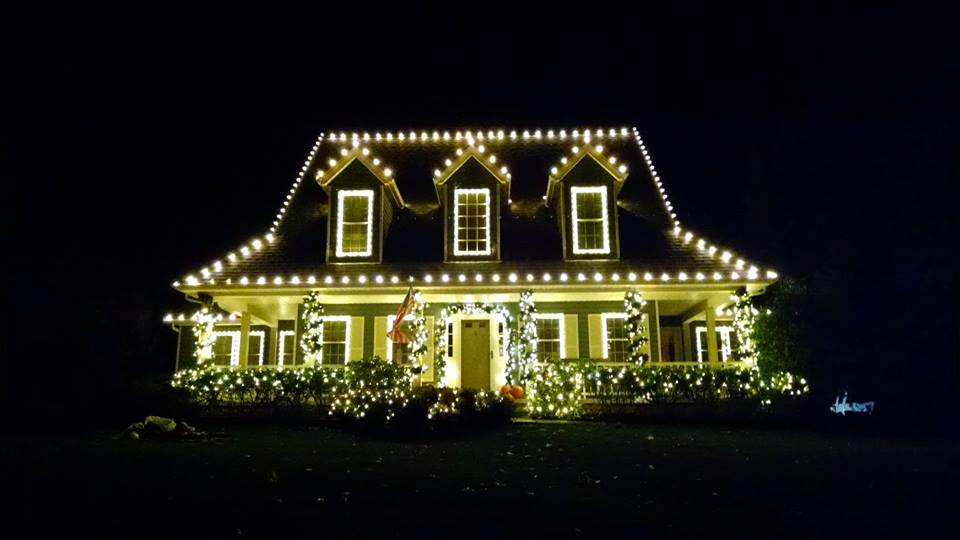
It’s never too early to start thinking about Christmas Lighting, especially if you are looking for them to be hung professionally. While professionals are not cheap, they do alleviate many headaches from doing it yourself.
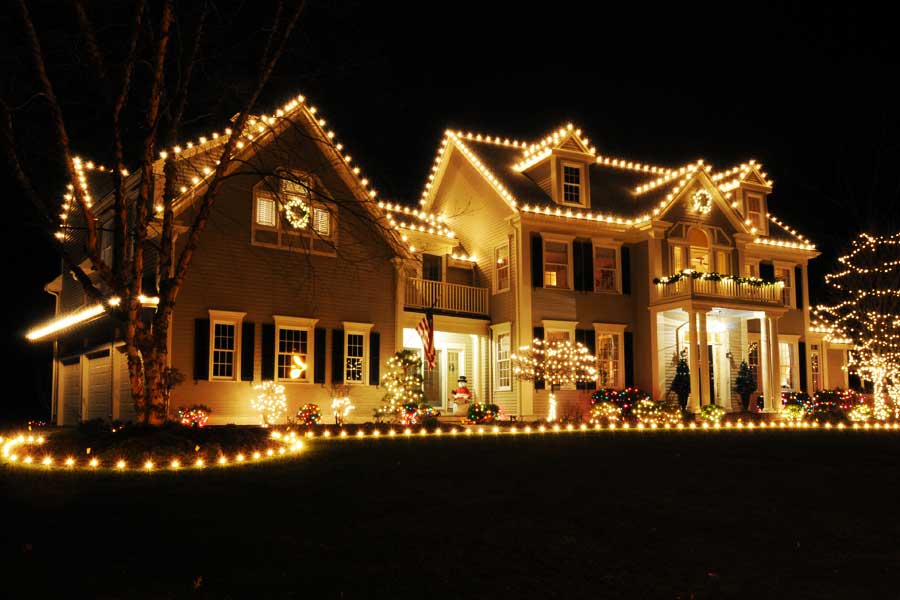
X-mas - white lights

Great Gift

• Professional Christmas Lighting makes a great gift for that special someone who loves the holidays.

Other Holidays

• Most people think Christmas is the only time to have holiday lighting installed. Holidays from many cultures are celebrated throughout the fall and winter. Festivals’ of lights & colors not to mention, holiday lighting can make your Halloween spectacular look extra spooky.
Lightsinmentor
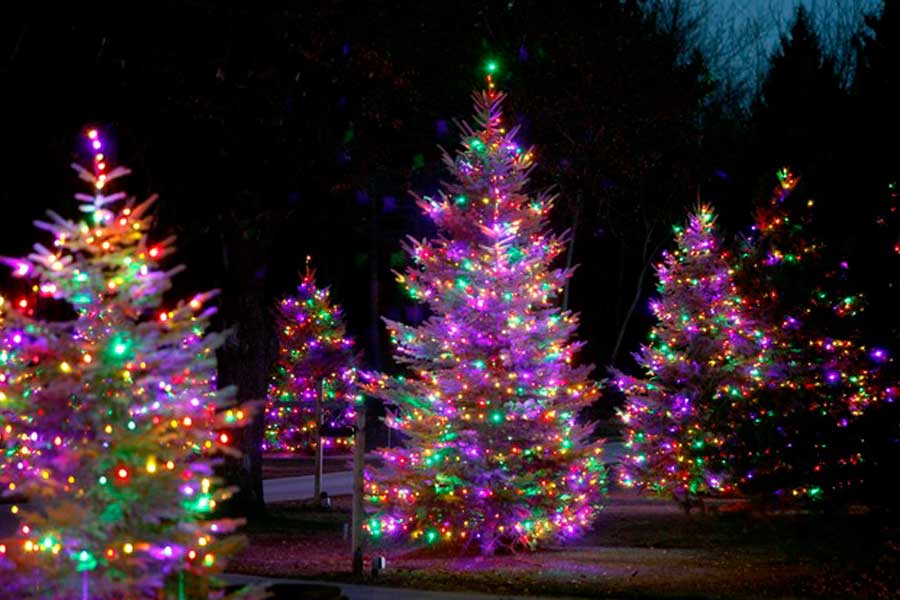
Premier Landscaping's Outdoor Lighting, trees.

DIY Christmas Lighting

• DIY can come with a host of problems: tangled lights, storage, damage to your residence and maintenance. All of these issues are covered by most professional lighting companies.
Quality Lighting

Design

• Professional lighting firms, for the most part have their own designers on staff, you can customize, specific colors, ornaments even specialized letter and inflatables.

Quality Lighting

• Incandescent or traditional light bulbs waste a good deal of energy; 90 percent of their energy is released as heat They can be a fire hazard if placed too close to cloth or flammable materials and burn out quickly. Unlike traditional bulbs, LED lights are more efficient, durable and long-lasting than fluorescent incandescent lights. They do not give off heat, so you eliminate the risk of being burnt and more energy is converted to creating light & they can last for years.
Corporate Lighting
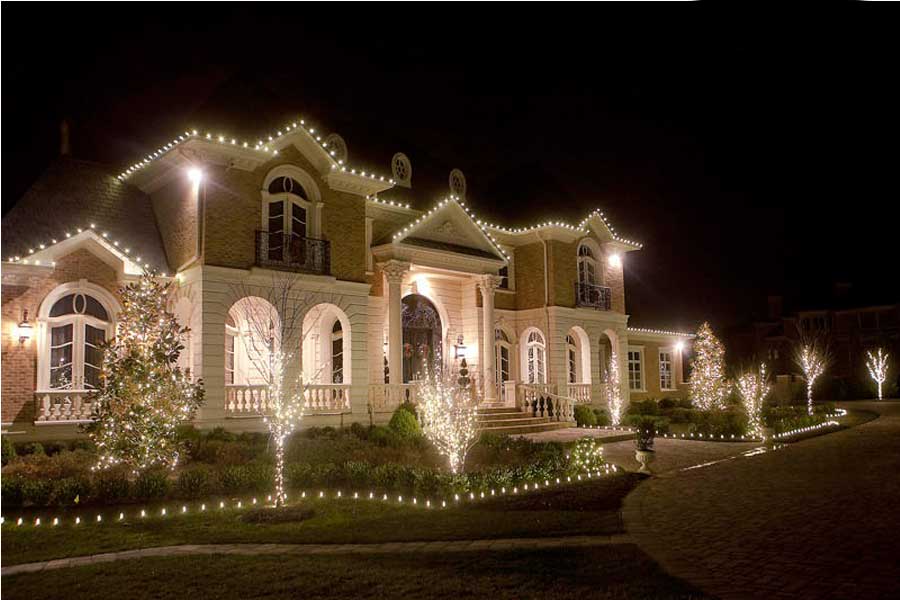
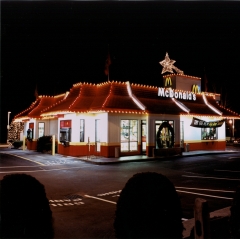
Christmas Decor Lighting

Safety

• Stringing lights across your roof and around your home can be a safety hazard. Shorts in electrical lights, a tinder dry tree can be deadly. There are over 200 Christmas tree fires and over 14 related deaths each year according to the U.S. Fire Administration. Not all lights are rated for outdoor use indoor lights often have thinner insulation, they can become cracked and damaged if exposed to the elements outdoors. Modern lighting today has fuses, do not use tacks, nails or screws if pierced they can be electrified, use insulated hooks, most professional lighting companies use insulated hooks like Christmas Décor by Premier Landscaping of Lakewood.

Start Early

• Hobbyist’s start as early as July and have a plan over the fall months. Technical and intricate designs require an enormous amount of time and planning. Design, music, display & hanging the lights is a process that occurs over a period of months. A professional design is all about convenience.

Advantages of Using a Professional

• As a professional company, Premier Landscaping Lakewood installs Christmas Décor. They have timers for the lights that will switch on and off at designated times. During the set-up you can have them synced with your favorite holiday music. Lights have been rated by a testing laboratory. You can see a list of federally recognized labs on the Occupational Safety & Health Administration’s website. Professionals use specialty hooks instead of using nails, staples or tacks.
02 Aug 2017

Landscaping Projects: Window Box Planter

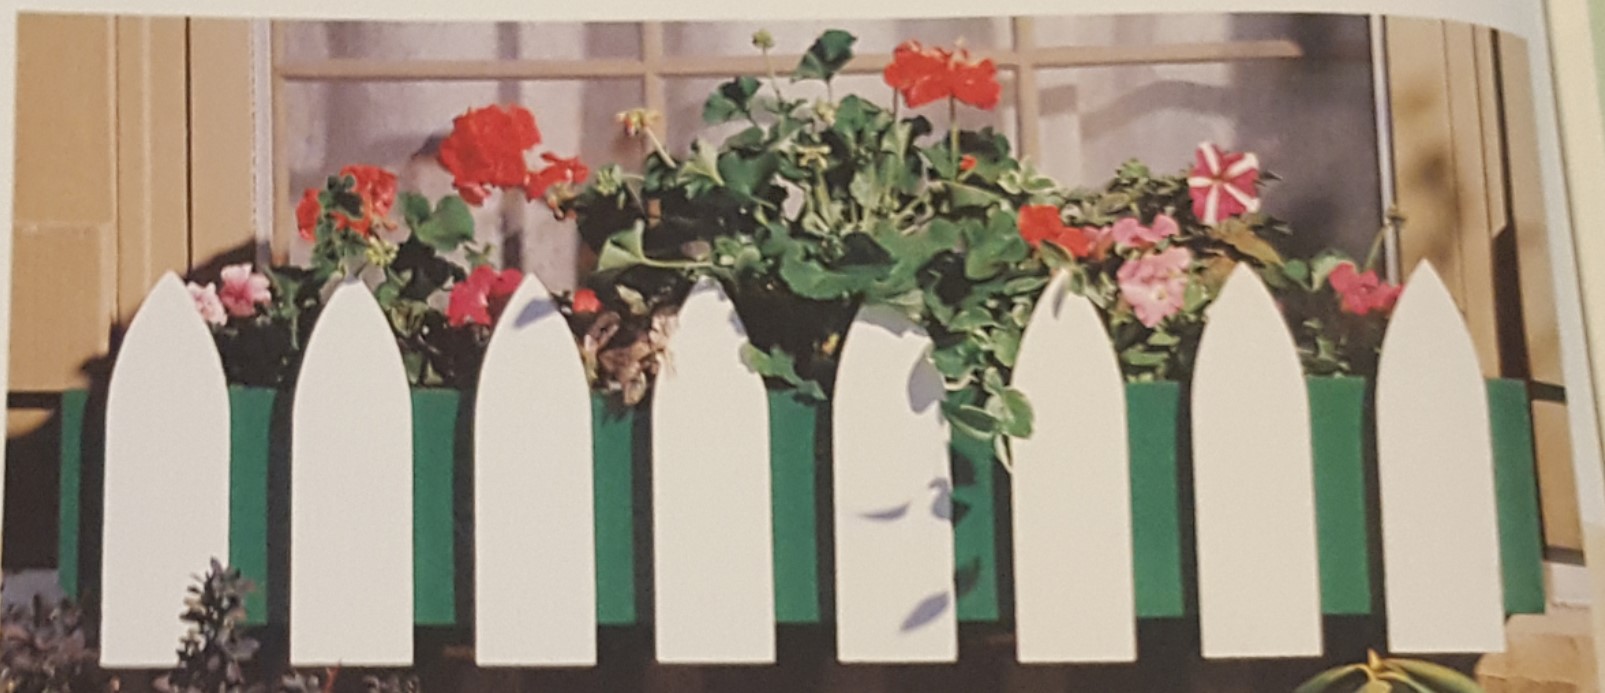
‘Picket’ Then Plant It In This Unusual Window Box

Your favorite flowers will look great behind this charming picket fence planter.
1. Measure your windowsill to determine the appropriate length for your window box. Once you decide on the length, cut the back piece of the box from a 1-inch x 8-inch board. Then rip the piece to a width of 6-3/4 inches. 2. Cut the floor of the box from 1-inch x 8-inch board to a length 3 inches longer than the back and bottom rip it to a width of 6 inches.
3. Cut the ends of the box. Rip a 2-inch x 8-inch board that is 13 inches long to 6 inches wide. Then cut two pieces 6 inches long, using the table saws miter gauge. 4. Cut the ends of the box. Rip a 2-inch x 8 –inch board that is 13 inches long to 6 inches wide. Then cut two pieces 6 inches long, using the table saw’s miter gauge.
Assembly
5. Assemble the box. Start by attaching the back to the end pieces, using 2-inch deck screws (make sure the grain runs horizontally on the end pieces and that the tops are flush), It’s important to predrill and countersink the holes. Next, fasten the floor to the end pieces with 2-inch deck screws. Then screw the back pieces to the floor with the deck screws. Again, predrill and countersink the holes. 6. Center and fasten the front of the window box to the floor and ends the same way as in the previous step. The piece will extend 1-1/2 inches beyond both ends.
7. Determine the number of pickets needed based on the length of your box. (Select a style that works well with your house. We’ve provided a few examples at right, or you can design your own.) The pickets measure 3-1/2 inches wide x 11-3/4 inches tall. They’ll be spaced evenly along the face of the box and overhang the bottom by 1 ¼ inches. Here’s What You’ll Need… One 13-inch 2-inch x 8-inch cedar board 1-inch x 8-inch cedar boards (length determined by window width and number of pickets needed) 2-1/2 – inch, 2 inch and 1-1/4 –inch galvanized deck screws 1-1/4 – inch galvanized finishing nails Waterproof construction adhesive Recommended Tools… Table saw Combination square Saber Saw countersink Power drill Level
8. Cut the pickets from a 1-inch x 8 inch board. Use a saber saw to cut the tops (or a table saw for the dog-ear style). If you want to paint the pickets a different color from the box (like in the photo at left), now is the best time to do it. 9. With the window box resting on its back, lay out the pickets across the front. Space them evenly and square to the box. (The end pickets on the box pictured above align with the end pieces of the box.) When set, mark their positions with a pencil line on the same side of each picket.
Gothic Pickett Design
10. Set a combination square for 1-1/4 inch and position the pickets so they hang below the bottom of the box. Attach the pickets with construction adhesive and 1-1/4 –inch finishing nails. 11. Flip the box over and drill ¼ -inch drainage holes in the floor. 12. Rip the window box mounting board 4-1/2 inches wide from a 1-inch x 8-inch board. It should be the same length as the back of the box. Rip the board in half with a 30” cut down the middle making two pieces. Fasten one piece with the angle pointing down. Flush with the top of the back piece. Use constructions adhesive and 1-1/4-inch deck screws. Don’t forget to predrill holes in the mounting bard so it doesn’t split.
13. The other half of the mounting board will be attached to the house of window frame with the appropriate-size screws. Predrill the holes and hang eth board using a level to make sure the box sits straight. Now all you have to do is fill your window box with potting soil that drains well and plant some attractive flowers. (If your spouse has been “impatiently” waiting, you might want to plant some impatiens!) Before long, you windowsill will be blooming behind the nice, cozy “picket fence” that you put up yourself. *You can find this great idea and more in the book Birds & Blooms Books Backyard Projects
FINISHED PICKETT FENCE PLANTER
17 Mar 2017

Easy to make Compost Bin

Compost Bin

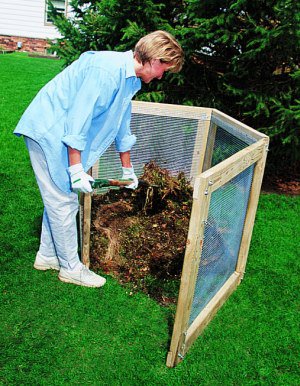
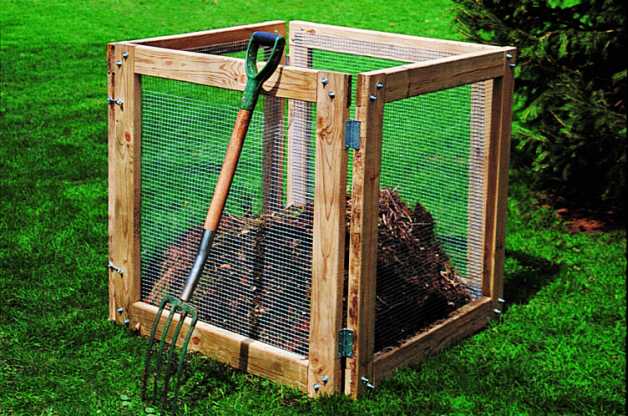
While many folks simply dump their backyard waste in a heap, this handy bin keeps the goods neatly stacked. It also provides excellent air circulation to efficiently turn clippings, leaves and vegetable waste into rich compost. As a bonus, the entire bin opens up on any side, making the periodic, turnings of the pile and easy and hassle free task.

Tools

Recommended Tools… Table or circular saw Rafter square Power drill Chisel Rasp Tin snips Pliers Heavy duty work gloves

The Plan

This plan is simple enough to get you rstared, but we’ve included a few more tips on the next page to elp you produced you own gardeners’s gold. Here’s What you’ll need… Eight pressure – treated 6-foot 2x4’s Thirty-two 5/16 –inch x 2-inch carriage bolts, nuts and washers Four 3-inch door hinges Four large hook-and-eye assemblies 12-foot x 36 – inch hardware cloth, ½ inch squares Poultry wire staples Waterproof construction adhesive

Directions

1. Cut each 2x4 in half to make 16 3-foot pieces. 2. Cut a 3-1/2 inch x ¾ inch deep notch (known as a rabbet) in both ends of each piece. You can do this on table swaw or with a circular asw. Make several close sucts (about 1/8 inch apart) across the grain in the notched section. Then, use a hammer and chisel to break out the wood betwwn theses cuts. Smooth with a rasp. 3. Fit the notched ends together to make foru 3-foot square frames. Drill holes for two carriages botls in opposite corners of each notch (see illustrations at the top right). Use construction ashesive in each joint before assembling. The nuts should face the outside so that the bolts wont catch on hour clothes when your turning the pile. 4. Use tin snips to cut the hardware into four 3 foot – square sections. 5. Tack each corner of the hardware cloth to the frame with poultry wire staples. Then staple around the frame every 2 inches. 6. Connect two frames with two door hinges, then put two hook-and-eye gate latches on the other ends. Repeat this step for the remaining two frames. 7. Stand the frames to form a square and latch the sections together.

Here’s how it works-

What’s the best and cheapest way to improve your flower gardens? Start by making compost. It’s the perfect amendment to garden soil and, best of all, it’s free! Like magic, this ‘black gold’ can be made right at home from yard and kitchen waste, Once these materials break down, they’ll serve as a rich additive or mulch that will help your gardens thrive. Here are a few basics to get your started.

The Perfect Ingredients

Equal amounts in weight of green waste (nitrogen sources) with brown waste (carbon sources) will create excellent compost. This balance will provide a perfect mix for rapid decomposition. What are green and brown wastes? Here are some found at your house: Grass clippings (green waste) Fallen leaves (brown waste) Kitchen scraps, such as eggshells, coffee grounds and fresh fruit and vegetable peelings (green and brown waste) Newspaper (brown waste) There are a few items that you should avoid tossing into a compost bin. These include: Dairy Product Pet Waste Disease and insect-infested plants Animal products, such as meat, chicken or fish; egg whites or yolks; and bones or skins Weeds with seed heads Findings the proper location for your compost bin is as important as the proper locations for your compost bin is as important as the proper ingredients. Locate it in a level, well-drained area in full sun. Be sure it receives good air circulation and is kept moists enough to help break downs the matereials. The pile should be moist like a sponge, but not soaking wet.
DIY - Compost Bin

When is it ready?

It can take three months to 2 years to make finished compost. The more attention you give the pile (frequent turnings, proper ingredients maintaining proper moisture, etc. ), the faster it breaks down. To turn the pile, simply mix or toss it with a garden fork (see photo at far left), or poke air holes into it with a broom handle. The process is finished when the bottom of the pile has dark, rich soil that crumbles in your hand. Compost can be tilled into your garden, used as a mulch, serve as a starter mix for seedlings or for repotting houseplants. You may even try soaking it for a few days in water to make compost tea, which will give your plants an extra fertilizer boost. *This helpful project is from Birds & Blooms Books - Backyard Projects
14 Dec 2016

Christmas Traditions

There may be a couple levels of separation, but nearly every strange tradition we practice around the holiday season stem from Christianity, and further than that, even have a basis in Pagan religions and pre-Christian traditions. And really, do the connections to Christianity even matter? Christmas is the one time of year where everyone (or nearly so) is friendly, generous and gets along with each other, does it matter the inspiration? As a non-Christian, I believe we can all learn something from the Christmas spirit, regardless of race, religion, or creed.

PIONSETTA

In 1828, the American minister to Mexico, Joel R. Poinsett, brought a red-and-green plant from Mexico to America. As its coloring seemed perfect for the new holiday, the plants, which were called poinsettiasafter Poinsett, began appearing in greenhouses as early as 1830. In 1870, New York stores began to sell them at Christmas. By 1900, they were a universal symbol of the holiday.
Pionsetta

Christmas Tree

The modern Christmas tree differs greatly from its roots; today, we decorate an everlasting, artificial construct with bright lights and dazzling ornaments, while traditionally, the tree was of course, real and more importantly, decorated with edibles such as apples and nuts. The tradition, as with that of the wreath, started with the elements symbolized by evergreens in pre-Christian winter festivals: immortality and fortitude. The evergreen was also known to have represented the same values to a variety of cultures, including the Egyptians, Chinese, and Hebrews. The worship of trees was also very common in European druidism and paganism. In Christian tradition, trees were often put up in December to serve the dual purpose of warding off the devil and allowing a perch for whatever birds still remained. Evergreen trees decorated with apples and wafers were also used in Christmas Eve plays during the Middle Ages to represent the tree from which Adam and Eve at the forbidden fruit. As for decoration, the first evidence for decorated Christmas trees comes from German craftsman guilds during the Renaissance. After the Protestant Reformation, trees enjoyed a surge of popularity among Protestant households as counterparts to the Catholic nativity scene.

Santa Claus

Many people know of Saint Nicholas being the basis of Santa Claus, but the practice of stocking-stuffing can be traced back to his charitable donations in the 4th century. Nicholas believed that childhood should be savored and enjoyed – but in a time where boys and girls younger than 10 had to work to support their families, this wasn’t always possible. He therefore gave what he could in homemade food, clothes, and furniture. The bishop even gave out oranges, which would have been very rare and expensive in Lycia, where he lived. The problem became where to leave these gifts so that the children would find them. According to legends, he then saw girls’ stockings hanging above the fireplace, and ol’ Saint Nick (to paraphrase) thought “Why the hell not?”. From then on, children would hang stockings up hoping that Saint Nicholas would visit them that night. Beyond St. Nick, the practice can be traced back to Scandinavian countries that still held their Pagan beliefs. Children would leave their shoes full of carrots, straw, or other similar foods for Odin’s mythic horse, Sleipnir. When Sleipnir ate the food, Odin would leave candy or other treats in their place. Most people know that Santa’s origins lie in Saint Nicholas, that generous Saint who gave presents to needy children. However, many other figures evolved into the conglomerate we call Santa Claus. For one, the Dutch Sinterklaas, who himself has basis with Saint Nick, was the main inspiration for Santa Claus. He is nearly identical to Santa: he wears red and white, knows if you’re naughty or nice, and has elf helpers referred to as Zwarte Piet. However, the legend takes on a much darker legend when one hears that the Zwarte Piet’s duties also include punishing naughty children with “jute bags and willow canes”. He also differs from Santa in the facts that he wears a bishop’s hat and comes on steam boat from Spain, rather than the North Pole. Another large influence into Santa’s design is the British Father Christmas, a figure developed in the 17th century as the embodiment of holiday joy and mirth. Odin also exists as a potential pagan inspiration for Santa Claus; he lead a hunting party with other gods on Yule, a German holiday at roughly the same time as Christmas; he rode Sleipnir, a legendary horse with 8 legs; like Santa, he has 8 reindeer; and he would fill children’s’ boots with candy, as mentioned earlier. The modern Santa Claus, contrary to popular belief, was not created by Coca-Cola, but has been in American folklore since the late 18th century. His name comes from an Americanization of Sinterklaas, and somewhere along the way, he lost his bishop’s hat. One could write an entire list on the origins of individual components of Santa’s story – suffice to say that they all have interesting origins, and I would suggest further reading.
Santa Claus

Christmas Carols

Christmas carols grew out of the first Christmas hymns, which developed in 4th century Rome. While these Latin hymns were sung in church for generations, the first true carols developed in France, Germany, and Italy in the 13th century. These carols, written in the vernacular language of the area they were composed, were enthusiastically sung at community events and festivals. They were not composed specifically as Christmas carols, but rather as conglomerate holiday songs that were sung at many separate festivals and celebrations. Later on, the songs would become associated primarily with Christmas and sung in numerous churches. Carols in Protestant churches were much more numerous, since the Protestant movement encouraged the arts, especially music. The modern practice of going door-to-door caroling likely has something to do with the root word for carol, “carole” or “carula” which both mean a circular dance. The practice may have developed out of the public ceremonies that created the first carols.
Christmas, as most of us know, is the Christian tradition honoring the birth of Christ – though it is not celebrated solely as such in our modern society. To us, Christmas represents a time of joy, gift-giving, and family. Christmas as we know it evolved out of the Roman tradition of Saturnalia, a festival honoring their god of agriculture, Saturn, on the winter solstice.

Roman Holiday?

Due to the already-rampant celebration taking place on the date and the revering of light and the sun, it was a natural development to celebrate the birth of Christ on the same date. Many Roman writers give references to the date of December 25th and Christianity between the 2nd and 3rd centuries, and it is believed that the holiday was widely celebrated by Christians by the turn of the 4th century. Though Christmas is celebrated as the birth of Jesus Christ, we don’t know the exact date, or even the year of his birth. During Saturnalia, children would often be given gifts of wax dolls – an act with a rather macabre history itself; the dolls were used to represent human sacrifices that Rome had given to Saturn in the past as payment for good harvests. Boughs of certain trees and other plant matter were also a common gifts during Saturnalia, and were used to represent bounty and good harvests. The X-Mas abbreviation, the X stands for the Greek letter Chi, the first letter of the Greek word for Christ. Jesus’ name has also been abbreviated as XP, a combination of the first and second letters of the Greek word for Christ. From XP comes the labarum, a holy symbol in Orthodox Christianity that represents Jesus. The term X-mas has been used since the 16th century, though it gained prominent usage in the 18th and 19th centuries. In the modern world, X has been taken to be used as an abbreviation for any word with Christ or the “krys” sound in it, even in words which have no etymological connection. Chrysanthemum, for example, is sometime shortened to “xant” on florist’s signs, and crystal has sometimes been abbreviated as “xtal”.
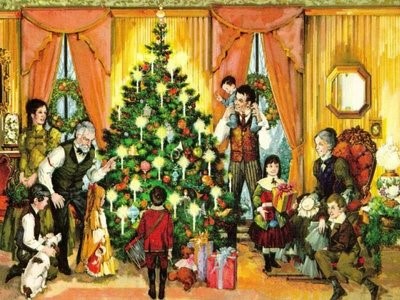
Family by a Christmas Tree
*Excerpts for this story were researched from the internet.
27 Oct 2016

Premier Landscaping presents Christmas Decor

While Christmas may not be the first holiday that comes to mind as Holloween approaches and Thanksgiving is around the corner, John Gilbride with Christmas Decor by Premier Landscaping LLC, a member of the Christmas Décor franchise network in Lakewood, encourages homeowners to make their Christmas holiday home decorating plans early, while prime dates and options are still available.

Christmas Decor logo

Christmas Decor

“It’s never too early to reserve your spot on our holiday decorating calendar,” says Gilbride. “Each year, our available slots fill up earlier as both residential and commercial customers turn – and return – to our professional designers to create holiday magic for their home or business.”

Christmas Lights
Assorted Colors Xmas Trees
Christmas Decor Lighthouse
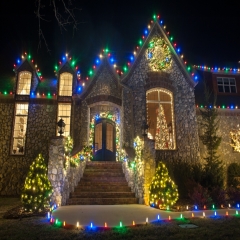
Christmas Decor Front

Christmas Decor

Professional decor companies are attractive to both residential and business clients because they offer complete outdoor holiday decorating packages. Christmas Décor franchise owners, for example, include design, custom installation, proactive maintenance, and convenient removal and storage in their service package. Demand for the service begins to grow after Halloween, so early booking is the key to being able to flip the switch on a holiday display earlier, rather than later.

Wonderland
Tree Lights
Christmas Decor Colors

Christmas Decor

“Home and business owners begin to understand the value of our services after they spend hours working in the cold on the perfect holiday light display, climb down off the ladder, and see that their results are not what they expected or planned,” says Gilbride. “Our professional designers and installers will create the holiday look you have in mind; maintain a ‘just-decorated’ look throughout the season’ and then remove, inspect, and store the decorations until the next season. It’s a small investment that pays off big in quality, convenience, and peace-of-mind.”

Commercial Christmas Lighting

About Christmas Decor 

Since its inception in 1986, Christmas Decor has risen to become the premier holiday lighting and decorating company in North America. The Texas-based company was founded by Blake Smith as an off-season supplement to his landscape business and as a method to provide year-round work for employees. Christmas Decor quickly emerged as a viable business opportunity and today, operates in more than 350 markets in 48 states and Canada. Plans are underway to open locations in more than 100 new markets through franchise expansion in select communities around the country. Christmas Decor is highly revered in its field and has received consistent recognition for its efforts; some highlights include having been named one of a Top Ten Home Improvement Franchises for 2008 by Entrepreneur Magazine and AOL Small Business. Christmas Decor’s parent company, The Decor Group, also offers the Nite Time Decor franchise opportunity, a growing 30-unit concept specializing in architectural and landscape lighting services. For more information, visit www.christmasdecor.net.

14 Oct 2016

Gourd Birdhouse

Gourd Birdhouse

Gourd Birdhouse
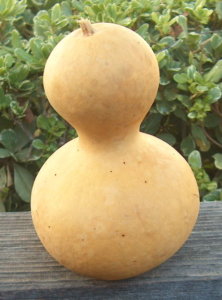
Gourds make great birdhouses, and the time spent creating one is a worthwhile investment. Cured hard-shell gourds are almost as tough as plywood. And they will last up to 30 years if properly coated with a preservative and handled with a little care.
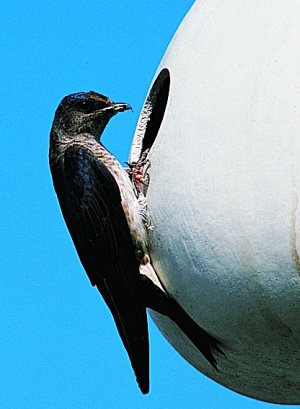
Gourds have been used to make purple martin houses for centuries. Native Americans used to hang them to attract martins to their settlements. Today, martins depend on people to supply them with houses and gourds. If you live east to the Rocky Mountains, you may want to give the matins a hand.
These basics gourd birdhouses are popular with the birds and purple martin “landlords’. The best part, there’s not limit to the number you can produce and hang right in your yard. We’ve heard of one martin enthusiast who puts up and maitnam more than 600 housed every year!
Other birds will nest in a gourd, too. Just customized it with the proper-size entrance hole for the species your’re trying to attract and place it in the right habitat.

premierlandscapinglakewood.net - 216-228-6916

Gourd Birdhouse - What you will need?

Heres what you will need –

One hard-shell gourd, also known as a bottle gourd, also known as a bottle gourd or birdhouse gourd.
Bleach (for disinfectant)
Fine steel wool
Wood preservative or copper sulfate
Oil-based white enamel paint
Plastic-coated copper wire, 24 inches long
Face mask
Recommended Tools
Power Drill
2-1/8 – inch hole saw or keyhole -saw

Premierlandscapinglakewood.net - 216-228-6916

Gourd Birdhouse - Step-by-Step

1. Harvest a hard-shell gourd when the vine has withered. Be careful to leave the stem attached. It’s best to cut the stem with a pruning shears so you don’t bruise it.

A good purple martin gourd has a diameter of about 8 to 13 inches. Wash it thoroughly in water, rince in a solution of 1 part disinfectant (bleach works fine) and 10 parts water, and dry it with a towel.
2. Hang the ground in a sunny spot or place it on the newspaper in a warm dry spot (such as an attic or basement) for 3 to 6 months. If the gourd is lying on a flat surface, be sure to frequently turn it.
The gourd will begin to mold as it dries - don’t throw it out! This is a natural part on the curing process. Gourds dried indoors will grow the most mold and should be wiped clean frequently with a the same concentration (1 to 10) of disinfectant you used for cleaning. However, discard any gourds that become soft or wrinkled.
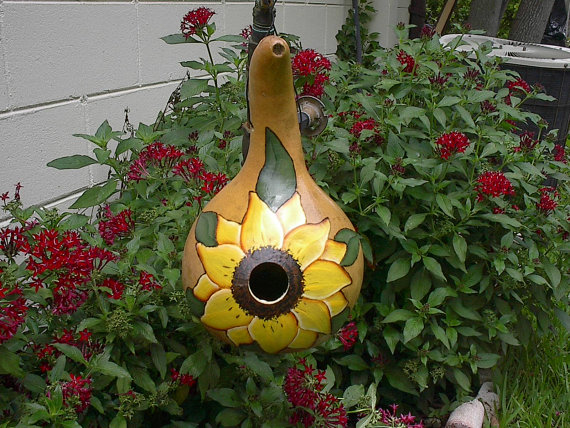
3. Check if the gourd is dry by giving it a good shake- if the seeds rattle, you can begin making a birdhouse.
4. Soak the gourd for 15 minutes in hot soapy water, then scagpe it with a dull knife to remove the outer skin and mold. Scrub the gourd in the water with fine steel wool. Rinse it well and aqllow it to thoroughly dry.
5. To locate the entrance hole, hold the gourd by its stem between your index finer and thumb and let it hang. Mark a cent point along the outer most part of the curve so the hole faces straight out-

Not towards the sky or the ground. The hole should measure 2-1/8 inches and can be easily and quickly drilled with the proper –sized hole saw as pictured above. (Be sure to wear a face mask)
You can also use a keyhole saw to cut the entrance by hand. If you do, it’s best to cut the hole immediately after washing the gourd, while its still wet.


Premierlandscapinglakewood.net - 216-228-6916


Gourd Birdhouse - Step-by-Step Continued

6. Make seven drainage holes in the bottom of the gourd about 2 inches apart using a 5/16 – inch drill bit.
7. With the same bit, drill two sets of holes about 2 inches from the top of the gourd’s neck for hanging and ventilation. One set should be drilled perpendicular to the entrance hole and the other in the line with it. (You’ll only use one set of holes for hanging. Choose the pair that will allow the entrance hole to face the most open direction.)

8. Remove seeds and membrane through the entrance hole with a long-handled metal spoon, screwdriver or a wire coat hanger (wear a face mask). If this is difficult, soak the gourd in water for several hours. The inside does not have to be completely clean.
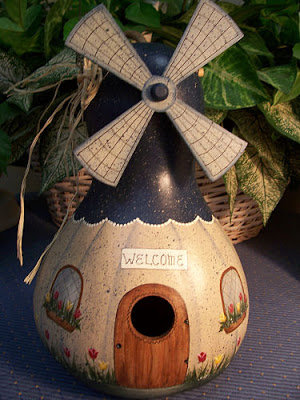
9. Dip the gourd in a wood preservative for 15 minutes, weighing it down with a brick. Then remove the gourd and hand it up to dry for several days. For cheaper alternatives, dissolve 1 pound of copper sulfate (available at garden centers and farm-supply stores) in 5 gallons of warm water and dip the gourd as instructed above. Wear rubber gloves while handling it.
Gourds need to be retreated and repainted every few years. So whatever preservative you use, store the solution in a covered plastic bucket for reuse, but keep it away from children and pets.
10. Sand the gourd smooth and paint with an oil-based primer. Allow it to dry.

premierlandscapinglakewood.net - 216-228-6916

Gourd Birdhouse - The Finish

11. Paint the gourd house with white exterior enamel paint with a nylon brush. (Do not use water-based latex paint because it will peel.) Apply two two coats Be careful not to clog drainage holes.
12. When dry, you can hang your gourd (you’ll need 4 to 6 gourds to attract martins) from a 24-inch plastic –coated copper wire. Thread the wire through two of the holes directly across from each other and hang it from a support line or on a specially made gourd rack. The gourd will swing, making it less attractive to nest competitors, such as starlings.
Hang the gourd 10-15 feet high, with the entrance hole facing an open area.
13. In late August or early September, after the martins depart for their winter homes in the tropics, take the gourd house down for cleaning. Break up nests with the hangle of a wooden spoon and shake out the contents. Then store until early spring (the martins return as early as February in the deep South) in a spot inaccessible to rodents.
Your gourd house will be ready to use again, but you might want to prepare a few more over winter, because the martins will probably bring along a few more friends!

This story is from the book Backyard Projects by Birds & Blooms Books.

premierlandscapinglakewood.net - 216-228-6916

15 Sep 2016

Winter Snow Removal Service

It’s time once again to start thinking about SNOW. Winter will quickly be upon Northeast Ohio and like every winter residents will have to make that ultimate decision. Will they try to tackle the snow this winter by themselves? Will they hire someone to take over those responsibilities? Like most services, it’s hard to find the right fit as far as timing, cost and philosophy.
We caught up with a Winter Snow Removal service provider Premier Landscaping with some tips & hints to get the most out of your winter contract.
Landscaping, Winter Maintenance & Christmas Decor
• What plans does your contractor or company offer? Premier offers two plans a rate for the whole season or per snow fall. ‘At the seasonal rate we come out when the snow reaches 2”, if it continues to snow after we have initially come through there is no charge,' Gilbride said. With the al la cart package its pay per visit so we would not automatically come back unless we are called & there is a charge every additional time we come out, says Gilbride.
• Pool your resources if you’re having trouble getting a snow removal service come to your neighborhood make it more attractive. “We have a number of our clients who sign-up the whole block. “ Gilbride says. “It makes it so much easier on us and the customer. We can get in and out quickly we make great time.” Gilbride continues.
• Extra services – “Make sure you know what you’re getting.” Gilbride says. “At Premier we do walks and steps for free but for other companies it’s an extra service. While for us salting is considered an extra charge.” Gilbride states.
• Know what tools will be used on your property. Snow removal services are all different. Many services use plows. ‘We don’t use plows on residential, on residential we use snow blowers, shovels and brooms. We use plows on commercial properties. Our customer like the snow blowers and so do we really, the advantage for the customer is; there is less chance of damage to vehicles and property and for us we can get in and out, Gilbride adds.
Man shoveling snow.
• Insured – Make sure your Snow Removal Service Provider has liability insurance specific for snow removal. This is in case there is any damage to your property or any other instances that could arise.
• Contract – Your Winter Snow removal service contractor and/ or company should provide you with a contract of services. It should detail everything that is provided, including any special instructions, and extra costs for the associates in the field.
• Choose Premierlandscapinglakewood.com for all your landscape, snow removal & Christmas Décor needs.
Man snow blowing.
Man snowblowing snow.
Winter Logo
26 Aug 2016

Landscape Renovation

Landscape Renovation

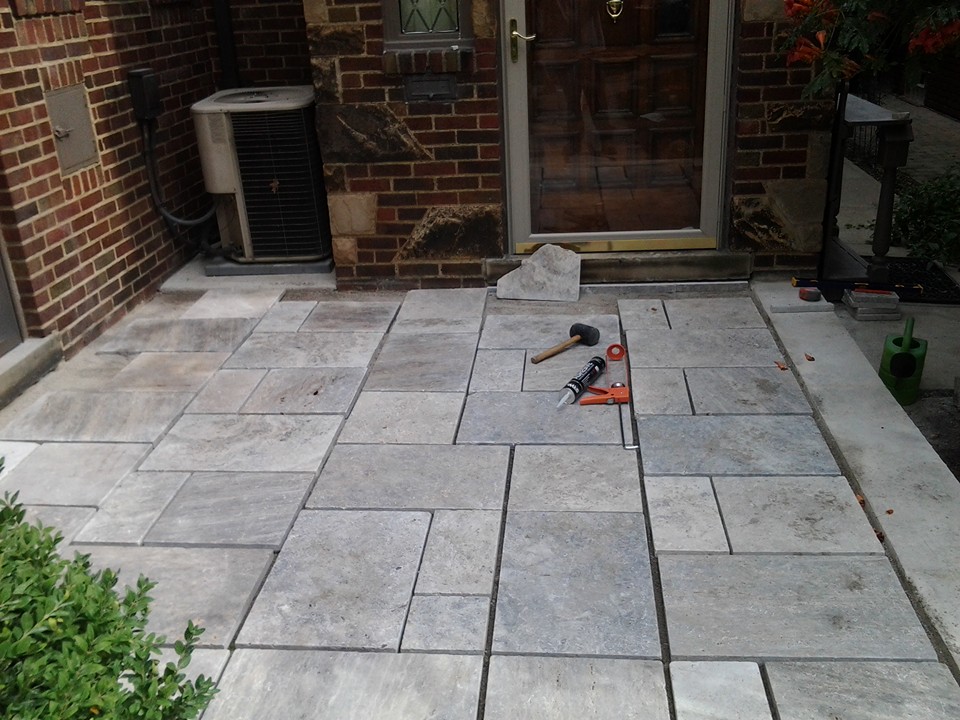
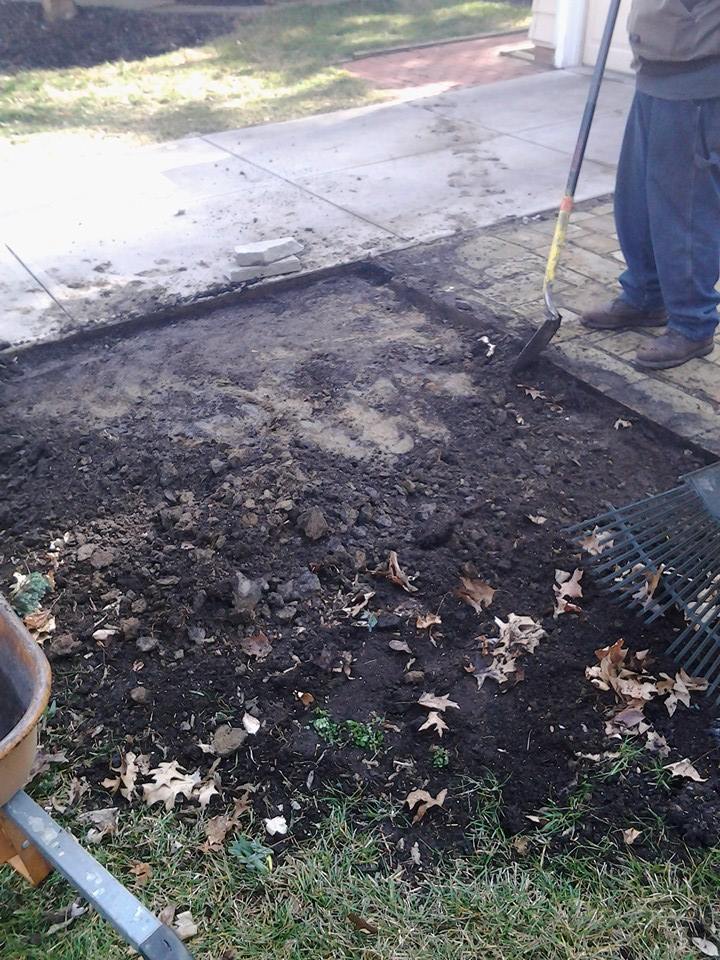
Landscape Renovation - Imagine a backyard of a property you just bought: overgrown with weeds; various plants that you don’t recognize; you don’t even know where to begin when transplanting or pruning; trees that are half dead with fallen limbs all over your backyard; hardscapes you either can’t see or that has been damaged over time. For your Landscape Renovation - www.premierlandscapinglakewood.net
Back porch patio
If this is you, you fall into a category of customer that needs a LANDSCAPE RENOVATION. While most homeowners try to go the route of the DIY, enthusiasm at the beginning can lead to a burnt out family. Meanwhile all of the landscapers are busy with other customers who contacted them at the beginning of the summer and are all booked up. Don’t put it off til’ next spring, tear off that band-aid and get your Lawn Renovation project started TODAY!
What does a Landscape Renovation consist of? First we start by revitalizing your lawn and plants. Aerations, seedings and other fertilization tatics along with a hearty dose of watering will bring your lawn back. We will move & recycle old plants for future use while helping you finding better locations for those plants that didn’t live up to expectations.
Next we create a design for you that is simple, modern and easy to maintain. Premier can take previously unused space and create an atmosphere that is functional, usable & beautiful. Your backyard should be your own private sanctuary taking you away from the troubles of the outside world, that is one of our main goals at Premier Landscaping of Lakewood.
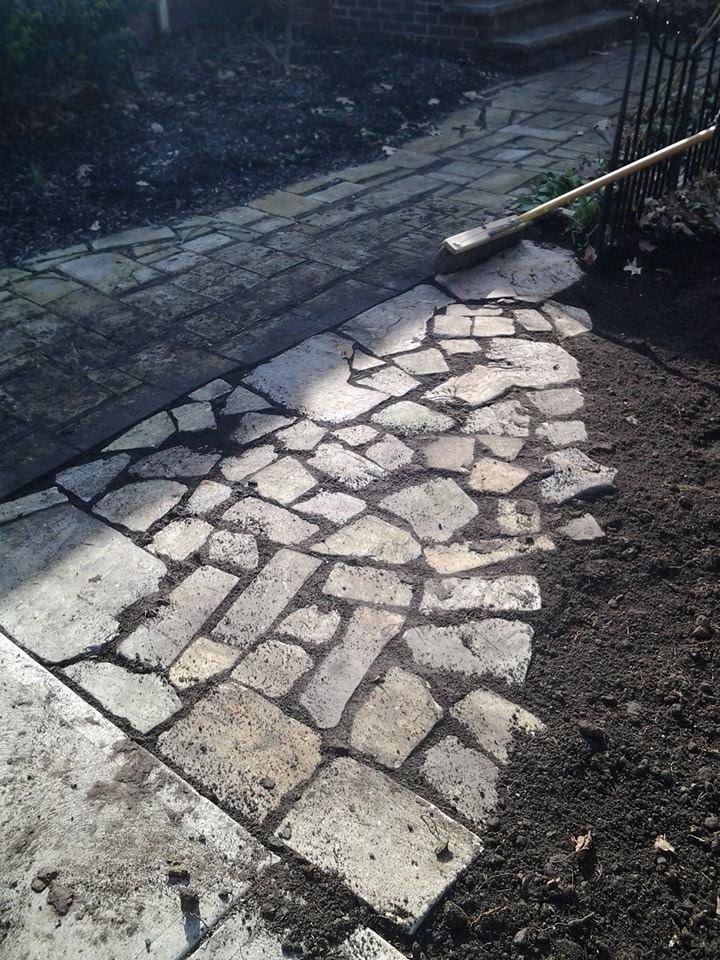
Buffing New Stone Patio
Large Stone Patio
Tips to achieve a total Landscape Renovation: 1. Goals – what kind of landscape do you want, functional, dog friendly, modern easy to maintain or a private sanctuary. 2. Budget – Know what you can spend & Premier will work within those parameters. 3. Design - have an idea for your future landscape, types of plants, stone, mulch etc. 4. Flexibility – The ecosystem of a landscape can be very fragile. Some plants may not thrive in a desired location depending on their individual needs.
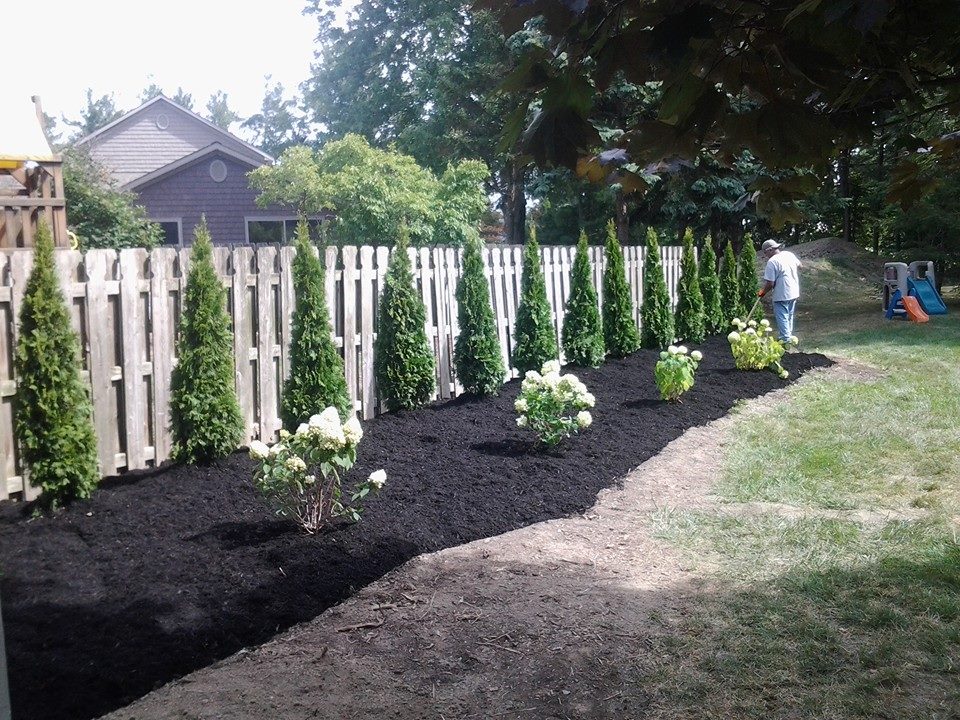
Fence & Mulch
Hardscape Wall w/ Mulch and Plants
Sod & Fence